For the character I’d like to create it in DAZ cause it’s efficient and I could have a basic joint group so that I can have a character with skeletal binding information in a short time.
First of all I decide to use Genesis8.1 as my basic DAZ model. Then I would add other props on it, for example the hats and the dressing. Adjust the position to the right place besides you could also add another face controls in it.
Then export the human with rigging infromation, just remember one thing make sure click some settings like Merge Clothing into Figure Skeleton and Collapse UV Tiles. This is the right setting for DAZ to Maya.
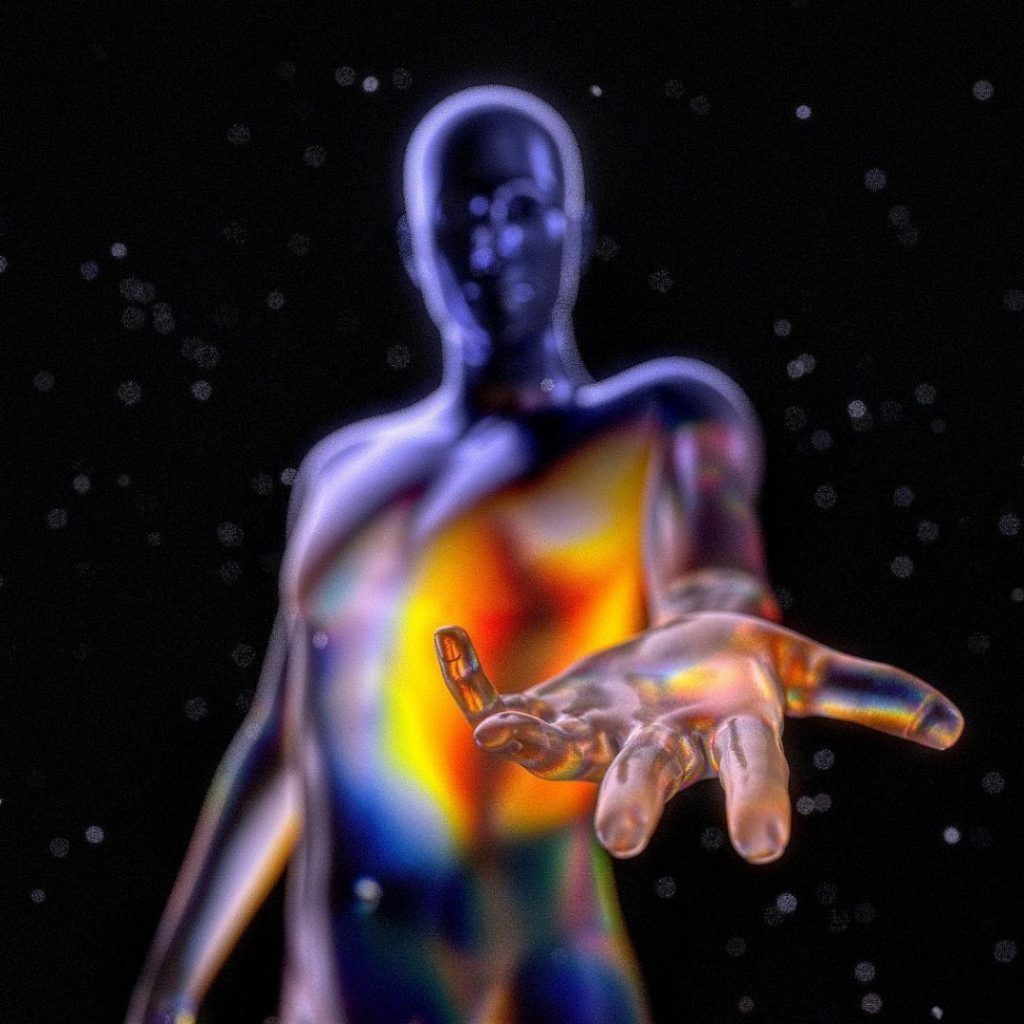
Turn to Maya I now have a nice topology human model with rigging, then I create several shader for him and link the maps to right place. For the skin I wanna to imitate the skin’s scattering effect so I made another SSS texture for the scater chanel.
Finally again in look development process. I added the color set again which I used last week for scene assets. I didn’t make too many changes this time, and it worked well in every way. I just turned down the Alpha Gain of the Rounghness map of the eyes a bit to make them look a little more hydrated.
This week I’ll mainly collect several assets for example the buildings behind the station, the lanterns in the station etc. Of course I will model the train cause it’s a very important prop in my scene.
Firstly I searched some old European residential dwellings, and I searched for traditional British architectural styles the Neoclassical architecture. Cause the limitation of the time I need to handle another project. So I download some these building assests with textures.
This is a collection of packages, all I need to do is pick some of them that I think suit for my scene. And set it as a group and freeze transformation for better control. I picked 3 of them in totall that’s enough. Then I go to the individal model to do look development.
In this step I just need to have a basic skydemolight. And then I will give each part a separate material and adjust the material according to my needs. For example the roof was originally a light gray, but I didn’t think it resembled many of the roof colors I’ve seen in the UK, so I adjusted the color offset in the base color to make it a little more reddish overall. Look development is this kind of things handle the assets separately so that they are under the same set of color management. You can also create a color version and two material balls next to each other that are smooth and not smooth. The purpose of this is that your assets are under the same set of material system, so that you don’t have too many problems appearing in the rendering later. Especially in the production of large scenes, you often need a very large number of asset files imported, but they are produced when some in different lighting conditions so the need to adjust the back of the very large number of places, this can be a good way to avoid this problem.
I used the same method to make materials for other items, as well as model trains, and they look very good with this color system.
Follow by the story brief this week I mainly find some references on Artstation, these images would lead the whole visual effect and art design.
The very first thing for searching these references is that confirm the basic scene enviroment. So I quickly think about some key words about all the elements I want in the railway station. I searched some station’s images which happened in night and have mid fog weather which is quit good. Besides I prefer to have some crowded and tall building in the behind area, cause the rich usually live in a big house and not nearly the railway station, it will lend credibility to my narrative.
And I also find the character’s reference especial the pose of smoking, cause this pose would lead the audience to this man’s story which happened in his trip before. So I searche this and find Mads Mikkelsen’s pose is a really good reference for me. Besides I wanna this man’s action keep low key and it would make the man more mature and looks reliable.
Finally I also search some images about the train. Cause it happend in the early of 20th, the train could be like steam train.
Last christmas me and friends hang out when we pass through the Waterloo station, I noticed some people take a travel bag and smoke outside. I quickly thought about this kind of person they are usually drifting outside and do not return home for many years. They might want to return to their hometown after many years to visit the people and things they know. But things are often not as they should be, and he will return home to find that everything he knew is gone. So I wanted to create a story like this to tell people to cherish the present moment.
Another important fact for this tiny story cause I was born in Chongqing near three gorges, the government was planning to build the Three Gorges Dam in the 1990s, so they had to move all the people out of the area. Many people have since left this land and gone thousands of miles away never to return. Many people want to come back and visit again when they find that their hometown is gone and their neighbors are scattered across the country. These things happened all around where I grew up, and I watched them happen. So that’s another reason why I wanted to go for this inspiration. By the way Jia Zhangke made a film about this thing in this area Still Life (2006) he provided a more complete story about this.
Story Setting
Cause I now stay in the UK, so I wanna this story happened in this country. And recently I’m really into the Peaky Blinder so I probably make the character like Tommy Shelby or others in this series. Besides it could happened in the old times maybe the early of 20th centry. And the location should take place near the train station in the village area, these places are low income, most people are willing to run outside to earn a living, which is more in line with the setting of the story.
So I have a story brief: One Christmas in the early 1900s, a man with a suitcase was waiting for a train at a country train station. The train was coming in, and the man was smoking and looking off into the distance, recalling the stories he had been telling along the way.
Technique Challenge
This time I notice a new work flow that could merge Maya prodution method with Unreal Engine the USD work flow. USD file can save all the scene as a cache people could swich to every 3D software such like 3D MAX and C4D and of course Unreal Engine, and all the changes will be updated by this file so there is no worry about different software’s limitation. I would follow the Epic offcial guidline video to make this story by the way test the new USD work flow, I believe it will be more efficient so I can use in my FMP!
This week I would make the shader for the 2 characters and set rendering, after that I would also use AE make title video and subtitle videos for the trailer.
As I seted before texturing the material, I just need to put the texture from Substance Painter into Hypershade window. Then link different textures to the right position.
It is worth to mention that some nodes in the Arnold material require manual adjustment of parameters. Rounghness, metalic, opcity(if have) and displaement textrures require to change the color space into Raw and turn on the Alpha is luminance this could make the rendering corectly. Besides if you use normal map make sure add one bump2D node and link normal map’s alpha to bump value in the node then out normal to the normal camara. Also change the color space into Raw.
After linking creat a skydome light and put a hdr texture in it. This step is just make sure everything is right in the final rendering under a normal light set. Besides I also made some changes somewhere I feel unsatisfied. For example I thought the glass masks on the helmet is too clean so I add one extra noise map to get more dirty detail and mixed the base color and the noise map together and link in base color. Therefore I got the final character rendering version.
I really like the title design in DeathStranding, especial the hair strand effect. Basicly this is mainly achieved through effect expressions. Just need 2 expressions of vector mash to control the random seed and size finally also need to add another expressions to control the size of the effect.
Next week I probable foucused on other subtitle video and wait for collaborator’s rendering video to edit, this project is coming to the ending~
After modeling and unfolding UV this week I could do the shading and texuring work.
First I need to figure out which part’s texture and material is same so that I could give them one shader and name it. This is important in Substance Painter and Marmost Toolbag, this allows me to make and bake the mapping separately depending on the material.
The shader I set in MAYA
The next I put the sculpting model which has nearly 1 million faces together and rename for each part for example XXX_low and XXX_high. The reason I did this I need to put them together into Marmoset Toolbag to bake Normal map and Curve map and AO map. The software could devide them by the name XXX and put them in low model and high model by name.
After that I got basic Normal and Curve and AO maps. Then swich to Substance Painter, upload the low model into it by the way make sure your model is in soft edges otherwise the height(displacement) map and Normal map will have some wireframe on them. Choose the map I baked before and the software will automatic assignment to the right place.
My personl habit for texture in Substance painter is that making a fill layer in the first time to control the base color and roughness and metalic if necessary. Then I probably add several dirt layers to imitate the dust or some edge marks of wear. And gave all of them with a folder and name it and creat a black mask to choose which part I would wanna have this shader.
Finally export all textures and chose Arnold default maps (in this point you could also add other texture as you want and need) and set a name space and file path.
In our script there are two roles present a male investigator and a female investigator. Now that I have a basic investigator’s clothing, I still just need to get the heads of the two characters done to match the investigator clothing.
In order to save efficiency I decided to use DAZ 3D to generate two characters out, which can greatly save production time.
So I could get two basic full body model, and then export them into FBX file with textures and rig information by the way but I won’t use the rig cause I only need the head part.
Then import them into MAYA and delete rig infromation. Finally delete other part of body just leave head and hair. I finally get the head model.
Next is to make the mask wear on these two character’s face. And I searched two images that close to my thought about the mask. It could have some sci features and there are two air outlets on the left and right side.
So I modeled them in Maya and move it to match the head on correct position.
After last week’s scuplting work I export the model to MAYA into FBX file but I don’t know why all the faces change into triangular face. And I tried OBJ file as well, the same happened. So I quited and decided to export the high model which had nearly a million faces and topo it in MAYA.
A million face high model
The method is simple, first just need to converts the selected surface to a live surface.
Then move to modeling toolkit and choose Quad Draw in the tools, and set points in the surface which you already select as live surface. Besides the point you will set in the face it’s better to use 4 sides face cuase it would have the best animation effect for your work.
After 3 days boring work of topology just to be honest I finally had a 90,644 faces model which keep the original detail I scuplt and could be rigged. The next I need to split and unfold UV to give Guanze Wu to rig.
There is no strict principle of splitting UV, just remember not to leave too many seams in the places where the camera is often easy to shoot, people usually cut in somewhere like underarm, crotch, chin even the back part of ear. This could avoid the audience to see these easy to have seams, otherwise there will be a seam processing work to do.
Finally layout the UV, my habit is to zoom in as much as possible on the larger areas of the UV shell, this could have more details on the possitive space.
As our script we need 2 SCP foundation investigators, so I searched several references which is closely to the investigators.
Firstly I just thought the area which our story happens would full of toxic gases even nuclear radiation phenomenon so I quickly reminded some medical staff in protective clothing, they would wear face masks in work daily and have enough protection suit. So I found some images relate to this in Art Station.
But our teammates Guanze Wu added that our characters should have more than just protective clothing that fits real life, it could have some sci equipment to against the huge Cthulu monster. With this point I linked to astronauts equipment. These equipments is strong enough to defence the body and it makes things more reliable.
Finally I took this image as main reference
I mainly use MAYA and Zbrush to model character, so in the very first time I quickly set several basic box to confirm the size of character.
Cause I wanna make a helmet to defence toxic gases so the head looks like a little big. So I move to Zbrush to sculpt the model.
I used ZSphere to get a basic body model and set differet sphere in right place and then I just need to work on sculpting and following the reference especialy sculpt some pleating effect of clothes.
Finally I got this basic model but the subdivision was too high, so next week I will focus on topo this model until 10,000 faces max.
After last week’s work it’s important to make a layout which could make our group members clearly understand the time of each shot and the overall rhythm of the film. So I need to use some images from our storyboard and references to imitate the final frames to edit.
First I found some free background music wich full of horror and gloomy as the basic music. And according to this I will follow the rhythm of music to edit different shots to make sure how many time we need for different shots.
I did it in Adobe Premiere and put all of our images and background music in it. And marked the climax of the music as the point shift different shots.
Finally others could just follow the layout’s rhythm to confirm how many time they need. So layout is essential for project.
Layout
Besides we also confirmed the work flow that for some far view scene and mid view scene we would use Unreal Engine to do it, cause the PBR effect could be rendered very efficiently with it. On the ohter hand for some close up shot we would still use Maya and Arnold to make. If we use Unreal Engine for them it’s too close the effect will be easily seen fake.