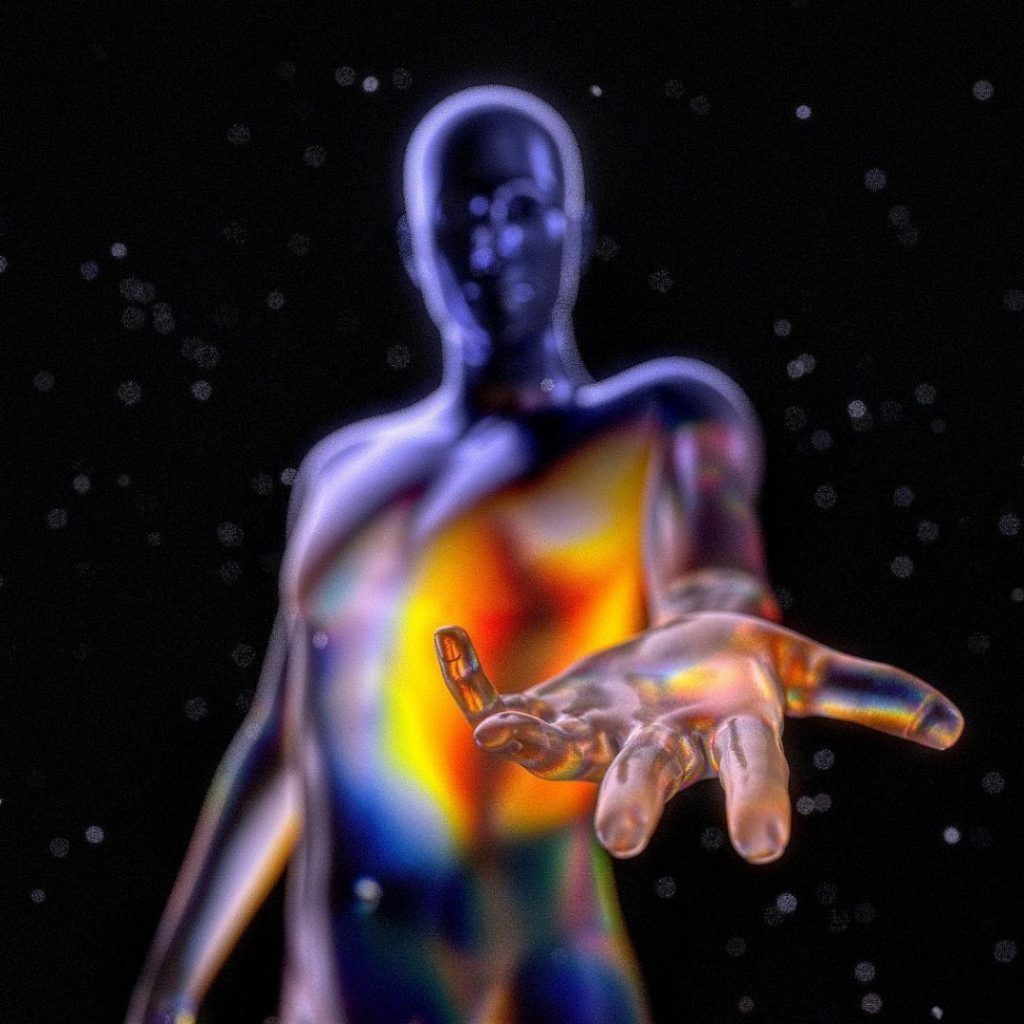
After modeling and unfolding UV this week I could do the shading and texuring work.
First I need to figure out which part’s texture and material is same so that I could give them one shader and name it. This is important in Substance Painter and Marmost Toolbag, this allows me to make and bake the mapping separately depending on the material.

The next I put the sculpting model which has nearly 1 million faces together and rename for each part for example XXX_low and XXX_high. The reason I did this I need to put them together into Marmoset Toolbag to bake Normal map and Curve map and AO map. The software could devide them by the name XXX and put them in low model and high model by name.

After that I got basic Normal and Curve and AO maps. Then swich to Substance Painter, upload the low model into it by the way make sure your model is in soft edges otherwise the height(displacement) map and Normal map will have some wireframe on them. Choose the map I baked before and the software will automatic assignment to the right place.

My personl habit for texture in Substance painter is that making a fill layer in the first time to control the base color and roughness and metalic if necessary. Then I probably add several dirt layers to imitate the dust or some edge marks of wear. And gave all of them with a folder and name it and creat a black mask to choose which part I would wanna have this shader.

Finally export all textures and chose Arnold default maps (in this point you could also add other texture as you want and need) and set a name space and file path.


